Welcome to LEGO microgame’s documentation!
For anyone who’s ever loved building with LEGO® bricks, Unity has provided a template project to do just that! Use these Creative Mods to build on the project and create your own custom experience, all while learning Unity.
Tutorial
Getting Started
After downloading the LEGO microgame and creating a new project, select start from the first tutorial window.
WASD or Arrows - Character movement Mouse - Camera Movement SPACE - Jump Pause / Options - TAB
In the Hierarchy, select the Player Minifig GameObject.
Change the Max Forward Speed to 13.
Save changes with File > Save or CTRL / CMD + S
Test your changes by selecting the “play” button.
The player moves slightly fast, but cannot make it across the gap.
Add a platform
Select the Platform prefab and drag it into the Scene view.
Move the platform beneath the collectable.
Rotate the platform the match the other existing platforms in the area.
Test your changes by selecting the “play” button.
At this point the player can cross the gap, but cannot make it to the higher point.
Activate the elevator
In the LEGO microgame, logic is built into blocks that affect the world around them.
Select the Elevator brick
Using the “LEGO Tools”
Click on the bricks to activate the stick / magnet mode.
Attach the Elevator brick the object onto the LEGO elevator model.
Test your changes by selecting the “play” button.
At this point the player can use the elevator and reach the “win-condition”.
By adding a “Touch Trigger” block to the elevator, we can ensure the elevator doesn’t raise until the player has “touched” it, or rather, collided.
Changing the win conditions
Select the “Green Win Action” brick from the Scene view.
Select the “Yellow Behavior” brick from the Scene view.
Delete the “Yellow Behavior” brick
Add a “Yello Behavior Pickup” brick to the “Green Win Action”
Test your changes by selecting the “play” button.
Now the player wins when they collect all of the collectables for the level.
Select the “Green Win Action” brick from the Scene view.
Change the text for title and Details beneath Objective for Pickup Trigger.
Title      This is the win-condition
Details    This could be a hint
Test your changes by selecting the “play” button.
Now the UI has changed to reflect the title and details I had chosen.
Add an enemy
Select the prefab “Galo” and drag it into the scene view.
Select the “Green Action Shoot” brick and attach it to “Galo”
Test your changes by selecting the “play” button.
The placed enemy shoots continually forward at a constant rate.
Select the “Blue Action Look At” brick and attach it to “Galo”
Select the “Green Action Shoot” brick from the scene view.
Change the values for Velocity and Accuracy beneath Shoot Action (Script).
Velocity    50
Accuracy    75
Test your changes by selecting the “play” button.
Shoots a much fast projectile at the same right at the player, does not aim accurately.
Customize your game
Select the “Green Action Explode” brick and drag it into the scene view.
Connect the “Green Action Explode” brick to the “electric fence” in the scene view.
Select the “Altar” prefab and drag it into the scene view.
Select the “Yellow Behavior Touch Trigger” brick and drag it into the scene view.
Connect the “Yellow Behavior Touch Trigger” to the “Altar” in the scene view.
Select the “Yellow Behavior Touch Trigger” from the scene view.
From “Touch Trigger (Script), modify Target to Specific Actions
From “Specific Actions”, modify size to 1.
Select Action, Fench Explosion
Test your changes by selecting the “play” button.
When the player “touches” or collides with the altar the fench now explodes.
Import Assets
Go to the Asset Store tab
Select “Search Online”
Search for LEGO microgame and select “Danger Zone”.
Click “Add to my Assets”
Open Package Manager
From “My Assets”, Select Danger Zone - LEGO® Microgame Add-ons and then Download followed by Import.
These assets are then added to Assets / AddOns.
Select the Bridge Short bridge from Danger Zone > Prefabs > LEGO Models > Obstacles and drag it into the scene view.
Move and Rotate the object as you see fit in the scene view.
Test your changes by selecting the “play” button.
The prefab rotates and plays a sound effect as it animates.
Supercharge your game
LEGO® NINJAGO® - LEGO® Microgame Add-Ons
Stickers - LEGO® Microgame Add-ons
Air Patrol - LEGO® Microgame Add-ons
Moody Tunes - LEGO® Microgame Add-ons
Happy Halloween - LEGO® Microgame Add-ons
Moody Skies - LEGO® Microgame Add-ons
Fluffy’s Carrot Farm - LEGO® Microgame Add-Ons
Microgame Mods
See Mods for more information
Build, publish, & BONUS
To get the additional “Unlockable Add-Ons” you have to publish your work.
Open the WebGL Publisher window
In the top menu, go to Publish > WebGL Project.
Select, “Get Started”
Select, “Builds and Publish”
Switch builds to WebGL if prompted.
Completing this process grants access to the asset Knights’ Kingdom - LEGO® Microgame Add-ons
Mods
Add Dialogue
Give voice to your LEGO® models with the Speak Action Behaviour Brick.
Select the “Speak Action brick” from Prefabs > LEGO Behaviour Bricks, then drag it into your Scene.
Modify “Speech Bubbles”
Type  Talk | Yell | Think | Information Type
Text  Anything you want to say.
Countdown to counters
Learn how to count scores, trigger bosses, and more with the Counter Action Behaviour brick.
Select the “Counter Action brick” from Prefabs > LEGO Behaviour Bricks, then drag it into your Scene.
Modify the “Counter Action (Script)”
Variable  Energy | Health | Progress | Score | (Add New Variable)
Operator  Add | Subtract | Multiple | Set
Value is the constant applied to the variable with the selected operator. Pause is the amount of time between operations can occur on the Variable. Repeat if the operation should repeat or occur once.
In “Variable Setters” you can set the Variable’s Name, Initial Value, Use UI, and UI Prefab
Enable Use UI if you want the counter to be visible to the player.
Change the mood
Customize the atmosphere of the Microgame with visual and audio changes.
Download the assets:
Moody Tunes - LEGO® Microgame Add-ons
Moody Skies - LEGO® Microgame Add-ons
Quick Reference
The skybox
The fog visual effect
Lighting
Music
In the top menu, go to Window > Rendering > Lighting Settings > Environment.
Modify “Skybox Material”
Skybox Material > Ninjago Sky
The Fog Plane exists as part of the “Environment” GameObject. Customize it by changing the material and further customize with changes directly to the material.
FogPlane > Mesh Renderer > Element 0 > Fog Ninjago
Additional lighting adjustments
Window > Rendering > Lighting Settings
Select “Skybox | Gradient | Color”, Gradient matches the screen shown in the tutorial.
In the Other Settings section, you can change the Fog Color property. This affects how the fog appears in the background.
After experimenting I found that “Linear” and a end of 600 created the desired affect.
Add background music
Select a prefab from Assets > LEGO > Prefabs > LEGO Models > Contraptions.
Choose the Jokebox.
Select the “Audio Behaviour Brick” that’s part of the jukebox model.
Modify the Audio Action (Script) component and select the Audio picker
Audio           AudioTrack
Audio Volume    0-1
Spatial         True|False
Loop            True|False
Behavior Brick Manual
This manual is a comprehensive guide to the Behaviour Bricks in the LEGO® Microgame.
Creating with the LEGO Tools
This guide will help you get started creating your own custom Microgame experience using the LEGO® Tools
This is a quick review of Unity Editor basics and unique traits to the LEGO microgame.
Change the player Minifig
Create a new protagonist (Player MiniFig)!
The default Minifig in the Microgame is the Astronaut. There are three other options to explore in the project: the Adventurer, the Pirate and the Pizza Boy.
This lesson doesn’t really explain how to create a Player MiniFig. It shows you how to switch between the prefabs provided by the project.
Create a locked area
Leave your players some loot — or an interesting surprise!
By default, the Target property is set to Connected Actions. This means that the trigger will activate any action bricks connected to an object that is also parent to the Trigger Block.
Set the Target property to Specific Actions, using the drop-down menu. Select the grey arrow to expand the Specific Actions foldout that appears. This allows the developer to target any action block that is in the scene.
Build your own enemy
This lesson suggestion that you build the enemy out of bricks then add behavior bricks to the constructed object. I don’t see creating something as complex as the Jukebox with this method.
It seems better suited for piecing together an object with mutiple polished models created in a 3rd party program. BrickLink Studio 2.0
It also seems better suited to then use the behavior blocks on these imported models.
Use the Behavior Scripts
Create a custom enemy using behaviours without Behaviour Bricks!
When I first started using the project I assumed you needed to attached a behavior block to get the intended behavior. This is not the case!
Drag your choice of behaviour script from the Project window onto the intended LEGO brick in the scene view or hierarchy. Object must be a LEGO brick.
Assets > LEGO > Scripts > LEGO Behaviours
Create and import new models
Create and import custom LEGO® models for your Microgame!
This is what I thought “Add an enemy” would cover.
Brick Palette.xml file
Note: This file is compressed (zipped).
Import a model
In the top menu, LEGO Tools > Import Model
Model import settings
The way you configure your model import settings will depend on exactly how you want to use the model in your project:
Colliders mean that the model will collide with anything that hits it; without this, objects will pass through your model.
Connectivity means that you can use the LEGO® Tools to build with this model in Unity.
Static models do not work with Behaviour Bricks, and are useful because they have a smaller impact on game performance.
Lightmapped models have lighting data applied to them as a Texture. If you’re not sure about your model, leave this setting disabled.
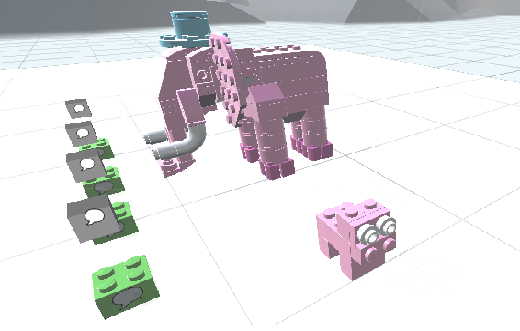
Randomize Rotation adjusts each brick in the model slightly, to make it look more like it was physically built by a person. Check the Elephant model to see what this looks like in Unity Editor.
Prefer Legacy uses older versions of the brick data. This is an expert setting — if you’re not sure whether you should use this, leave the settling disabled.
LOD stands for level of detail — you should always set this to 0 for creating games with the LEGO® Microgame.
Pivot sets the pivot point for the model.
Introduction to BrickLink Studio 2.0
Create custom LEGO® models using BrickLink Studio 2.0
Create an Account and then Sign-in
From the top menu, go to LEGO Tools > Import Model then Select Elephant.ldr
Add the LEGO® Microgame palette to Studio
In Studio, and select the palette field. Select Config… Import from xml w/o quantity
Try creating a friendly little pig
In the top menu, go to File > Export As… > Export as LDraw
Upgrade your levels
Explore level design basics as you extend your LEGO® Microgame with a new level.
Example Scenes:
Assets > LEGO > Scenes > Cannonball bingo
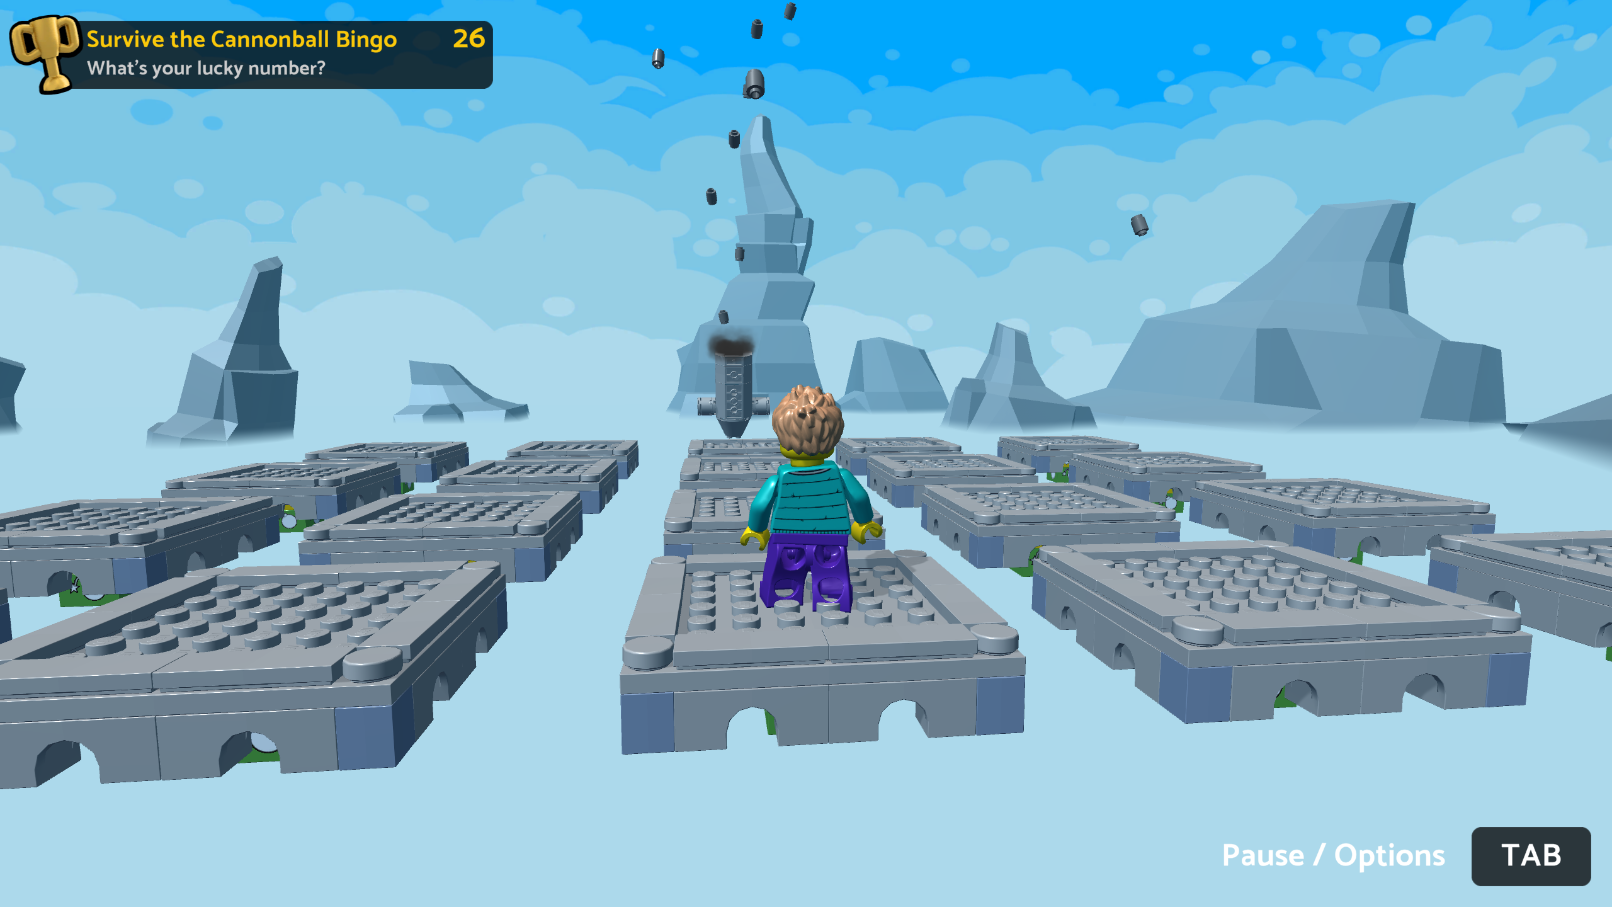
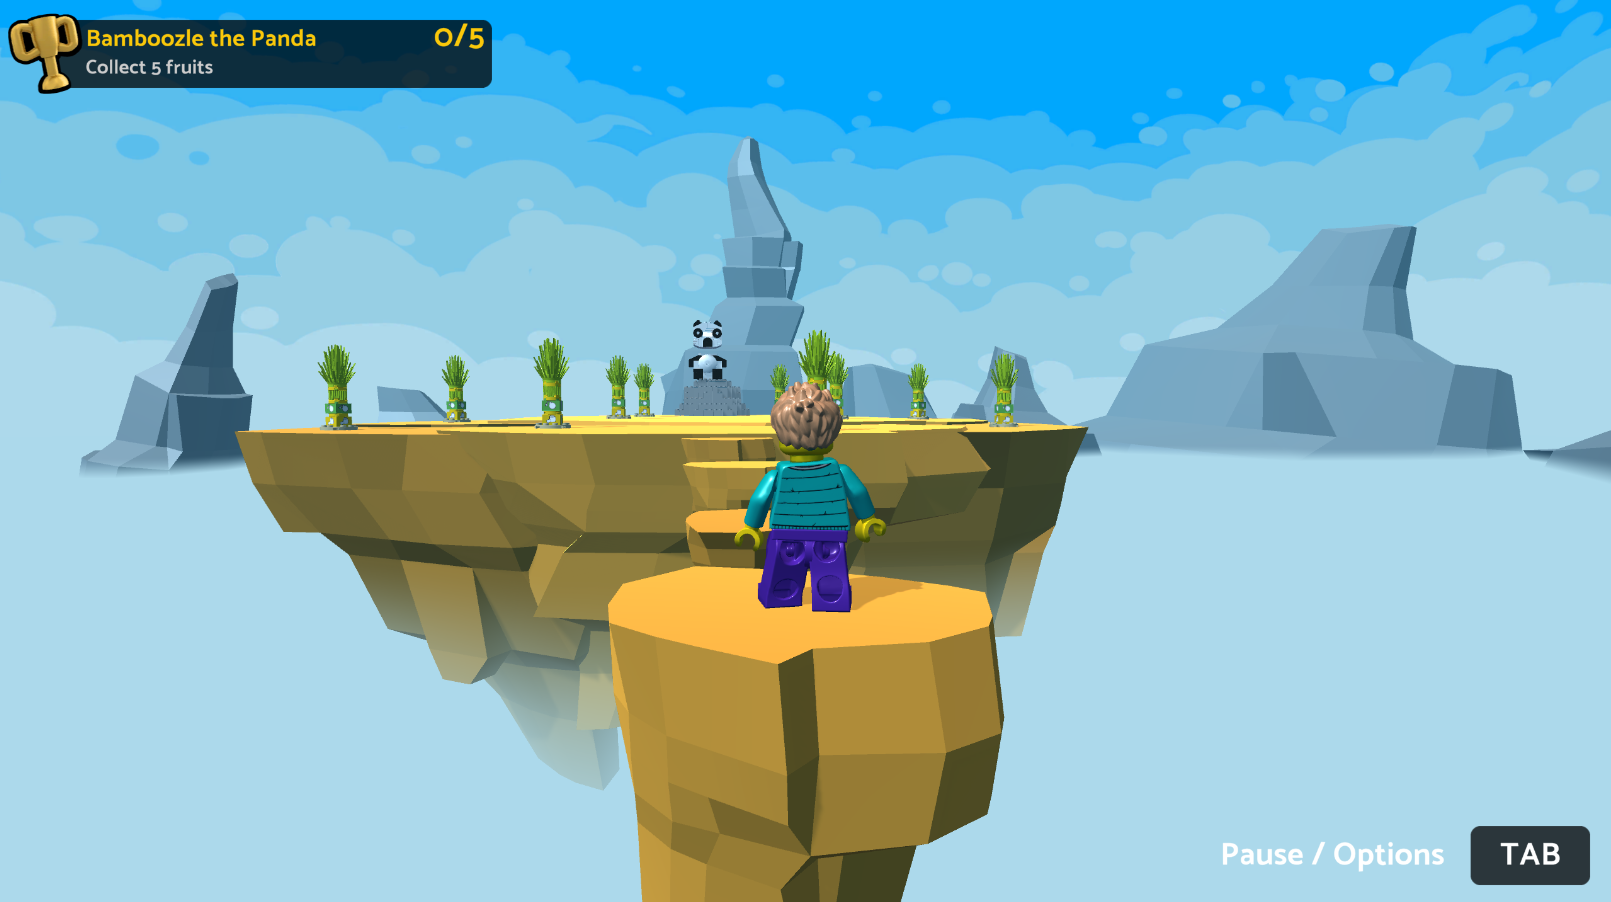
Assets > LEGO > Scenes > Pandamonium
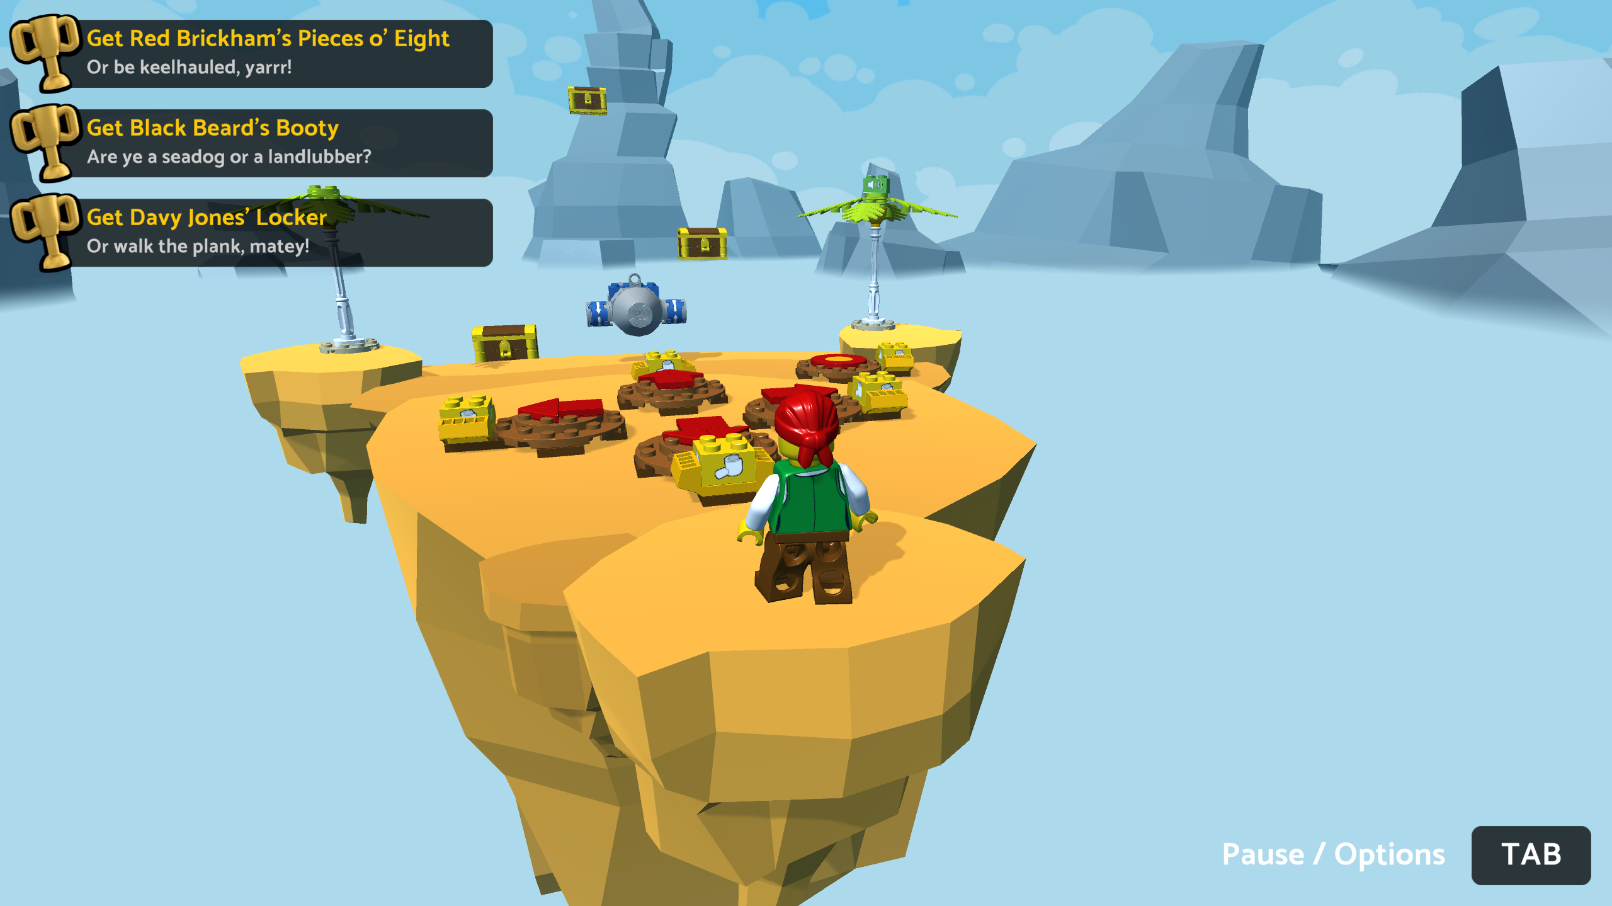
Assets > LEGO > Scenes > Pirate Plunder
Assets > LEGO > Scenes > The Evil Machine
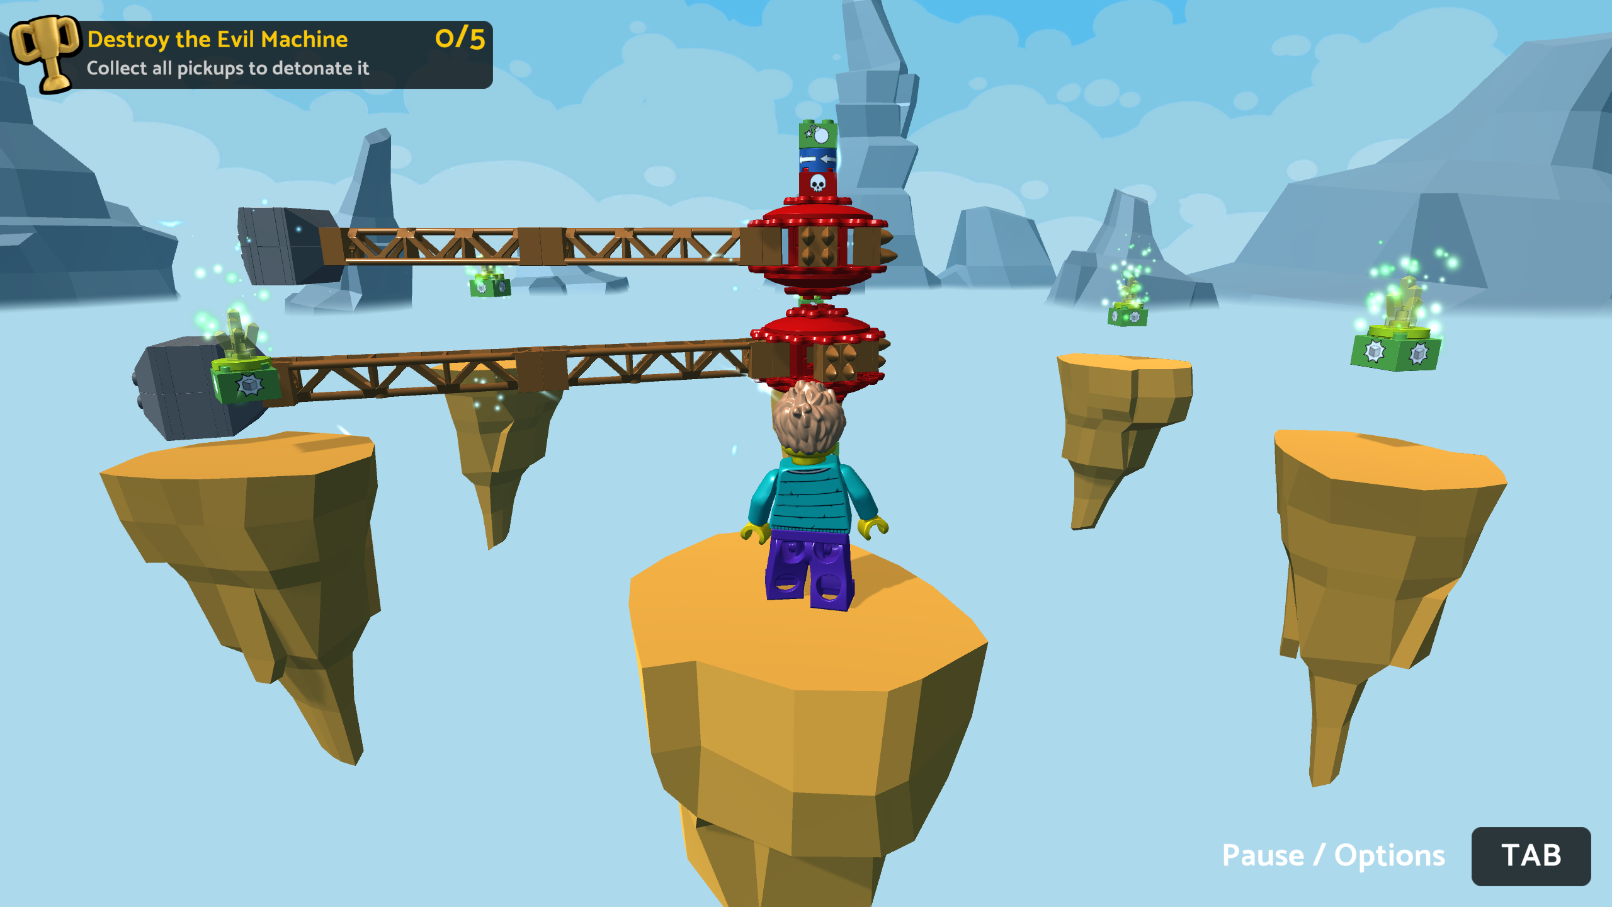
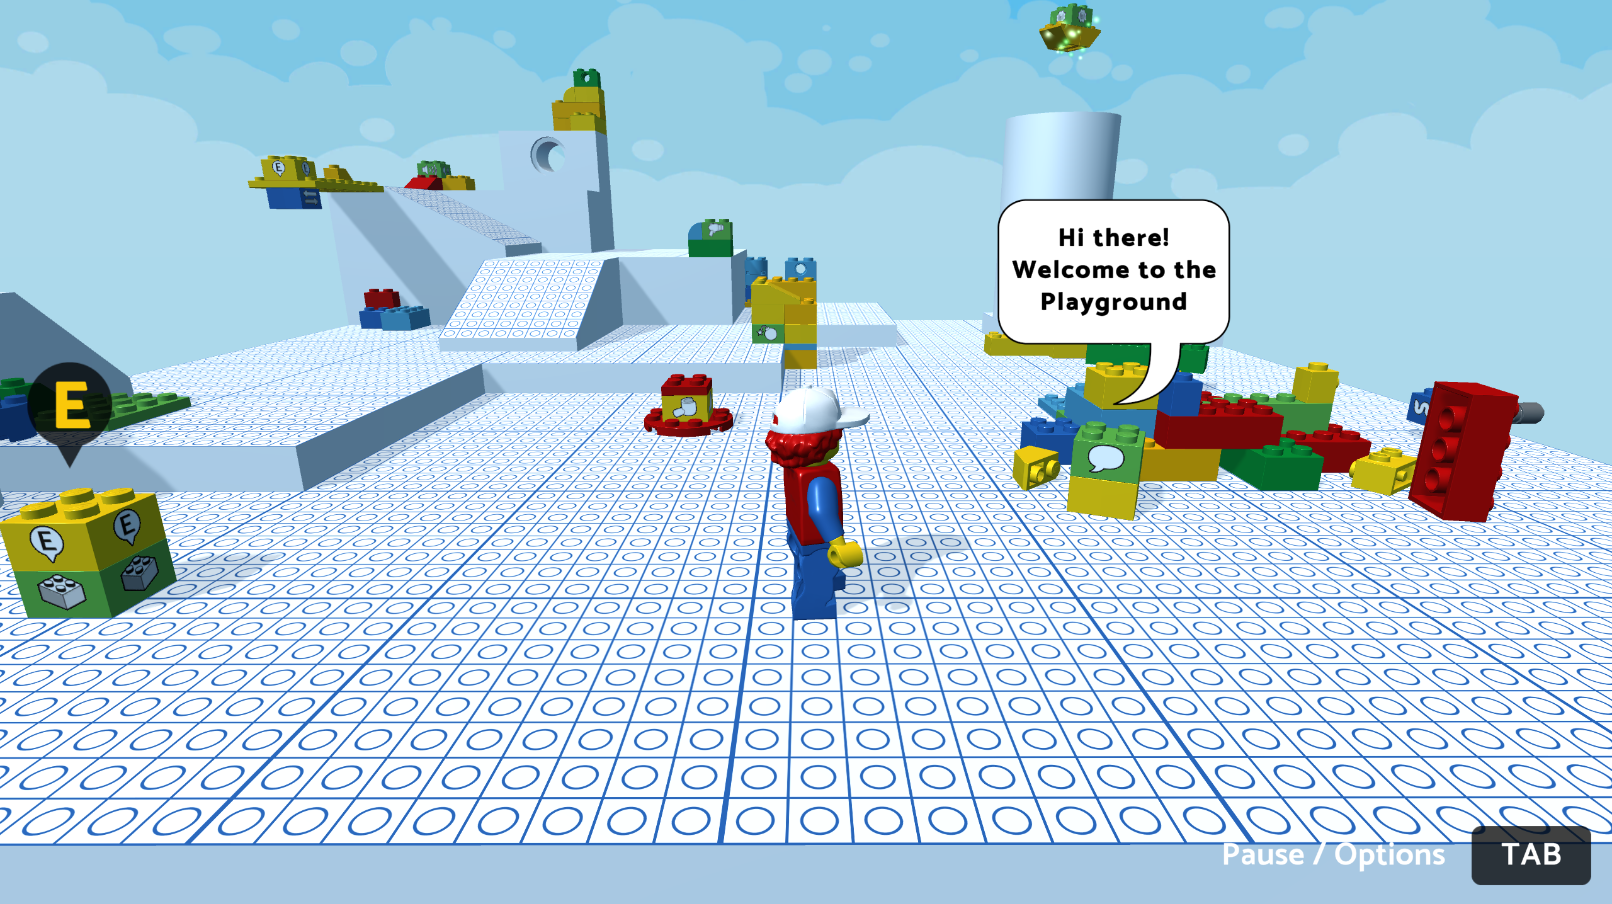
Assets > LEGO > Scenes > Playground
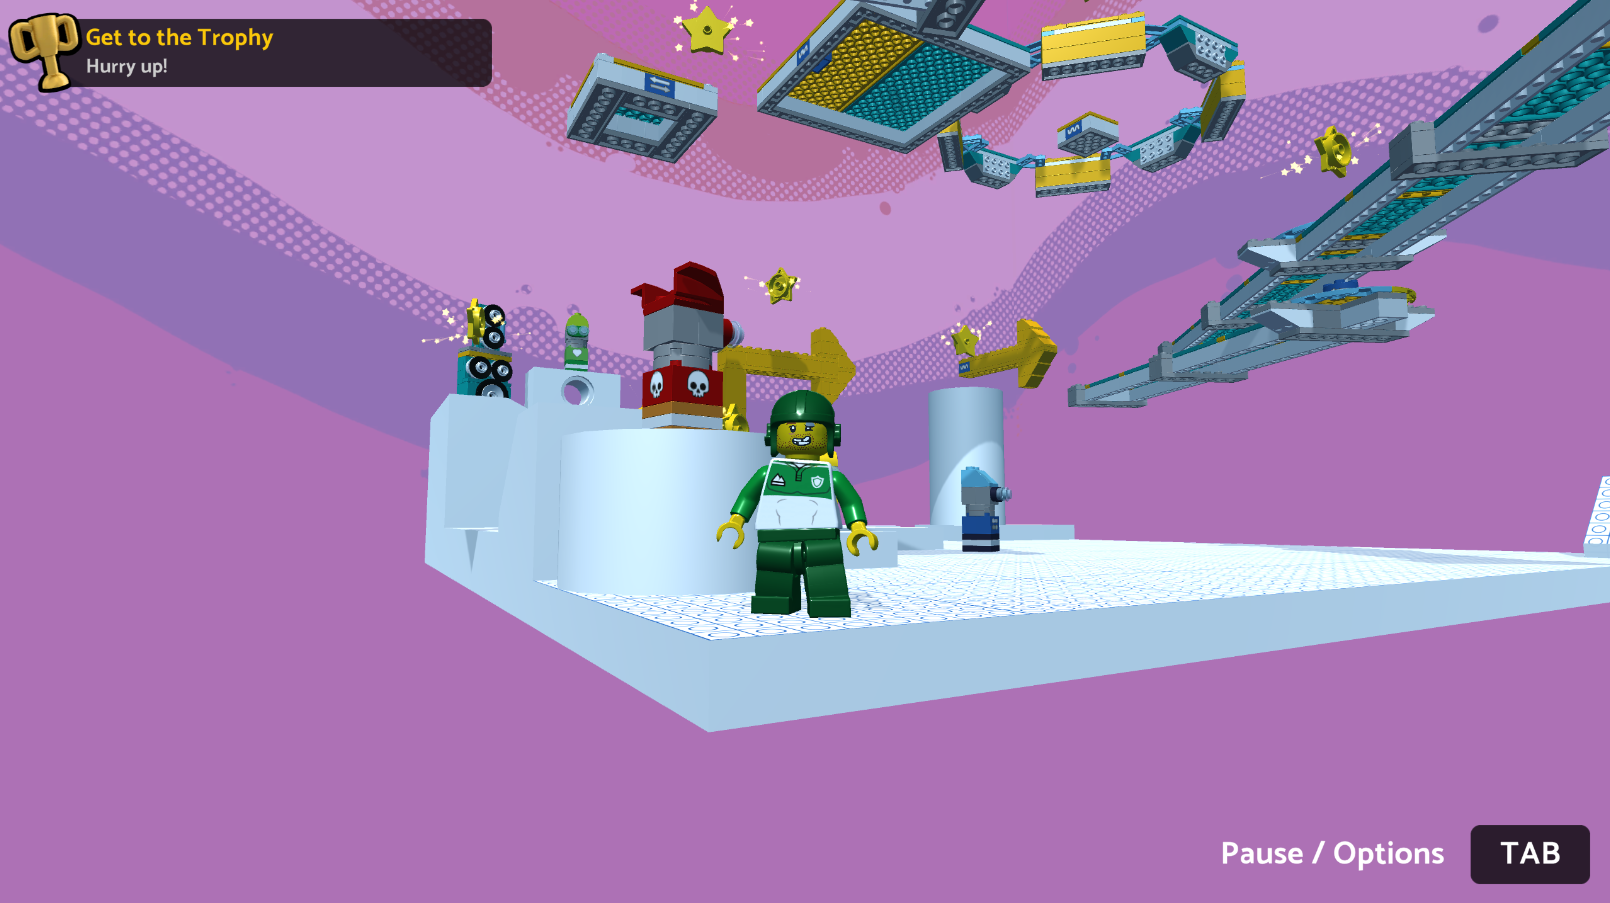
Assets > AddOns > MgLEGO Danger Zone > Scenes > Danger Zone
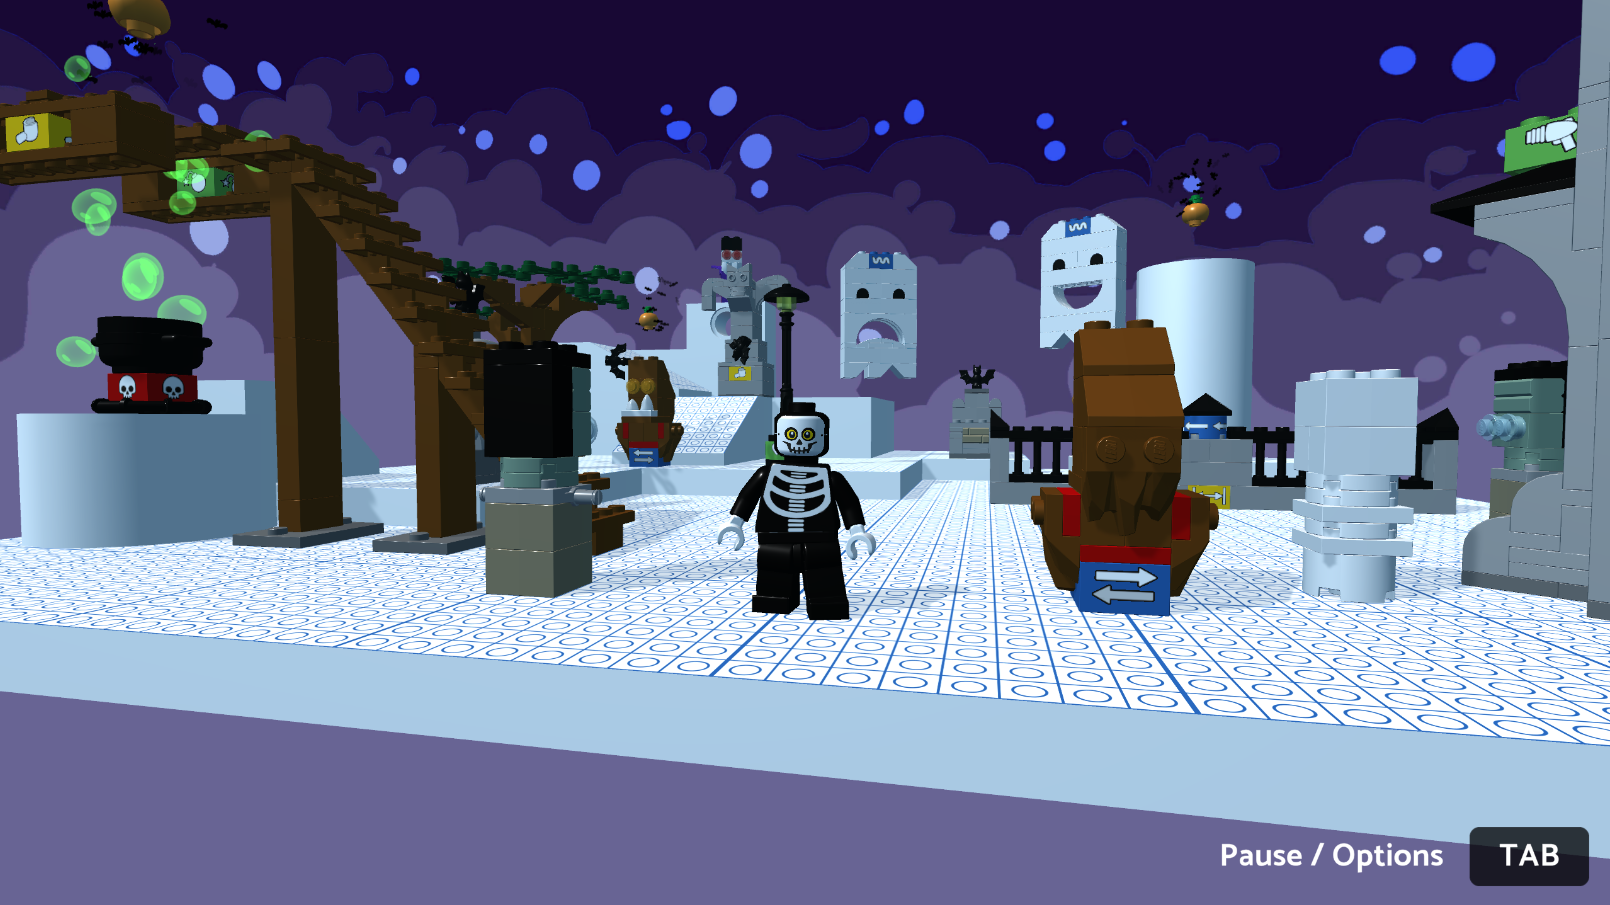
Assets > AddOns > MgLEGO Happy Halloween > Scenes > Happy Halloween
Assets > AddOns > MgLEGO Knights Kingdom > Scenes > Knights Kingdom
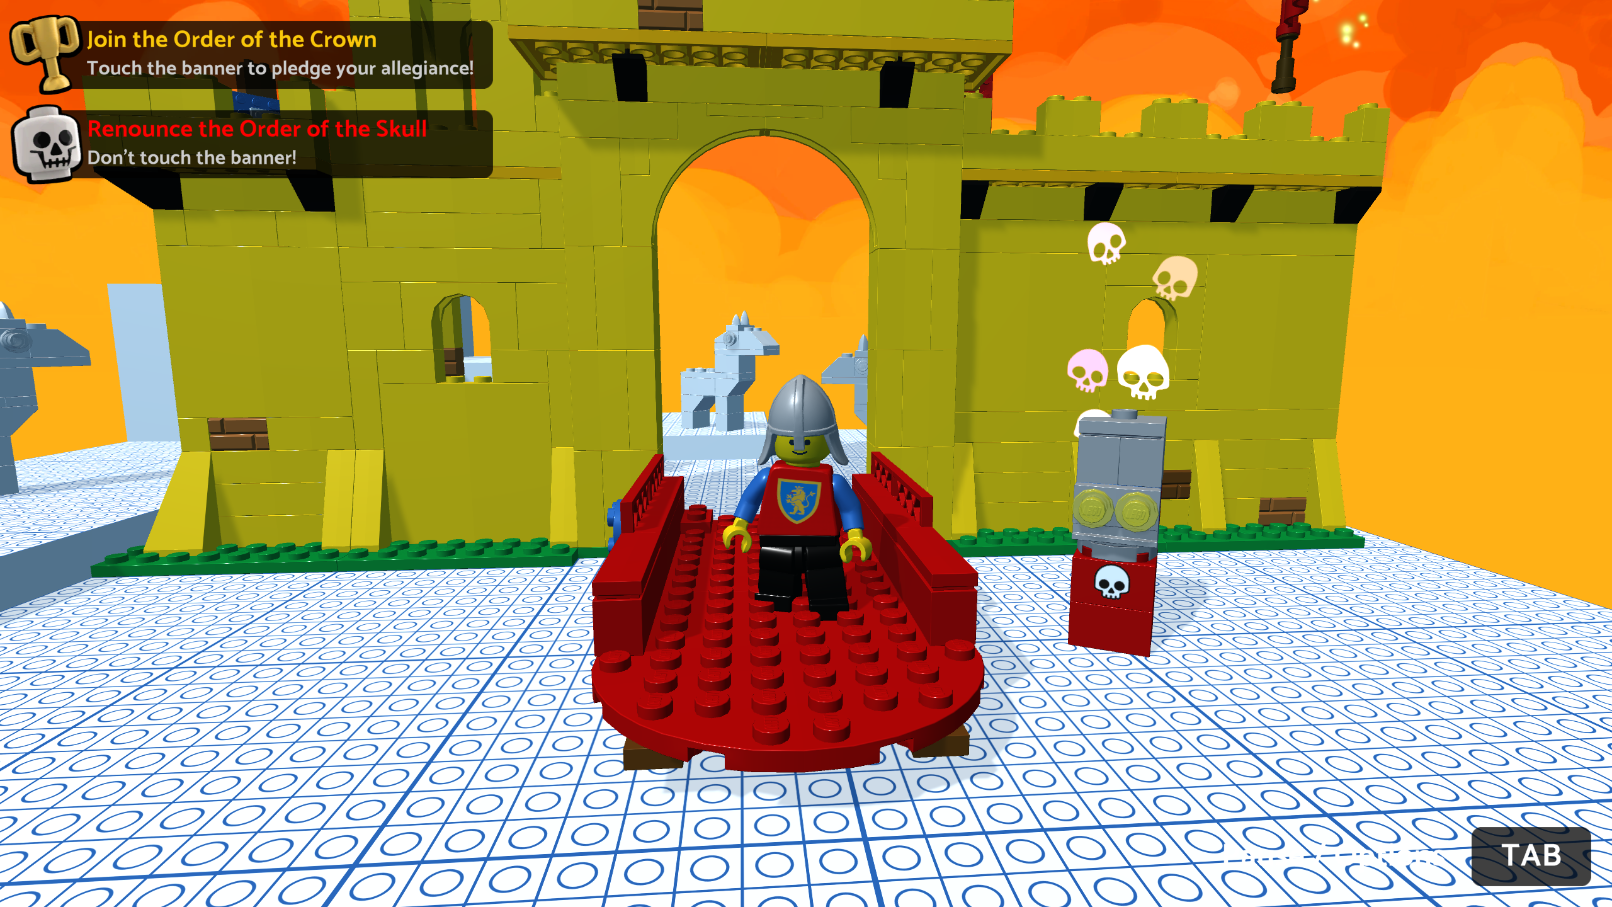
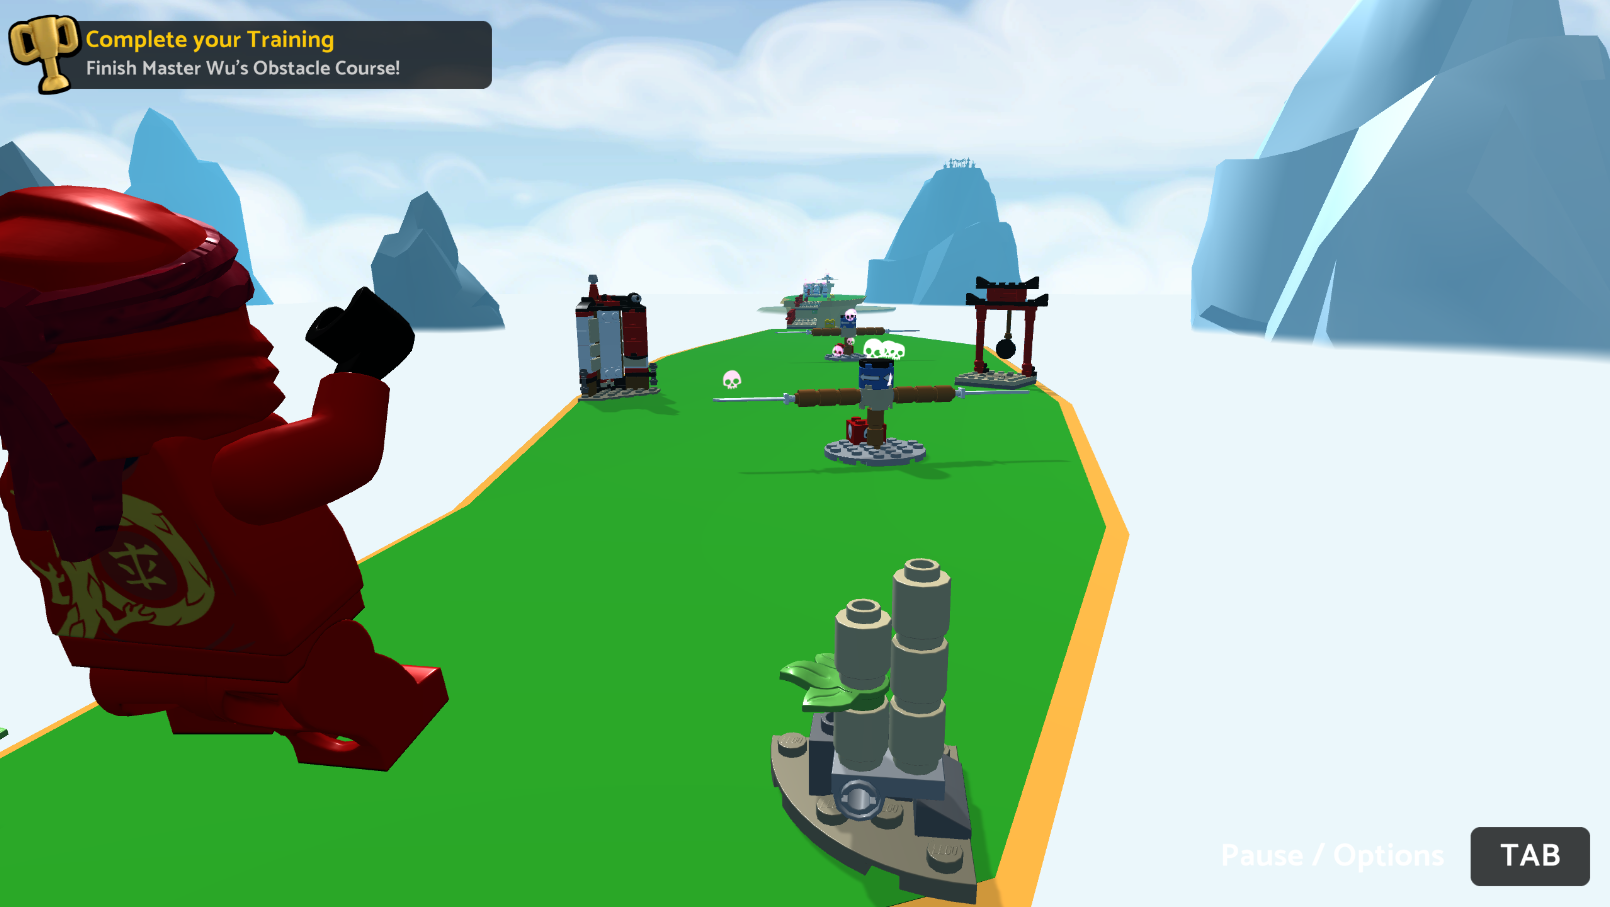
Assets > AddOns > MgLEGO Ninjago > Scenes > Ninjago Master Wus Training Course
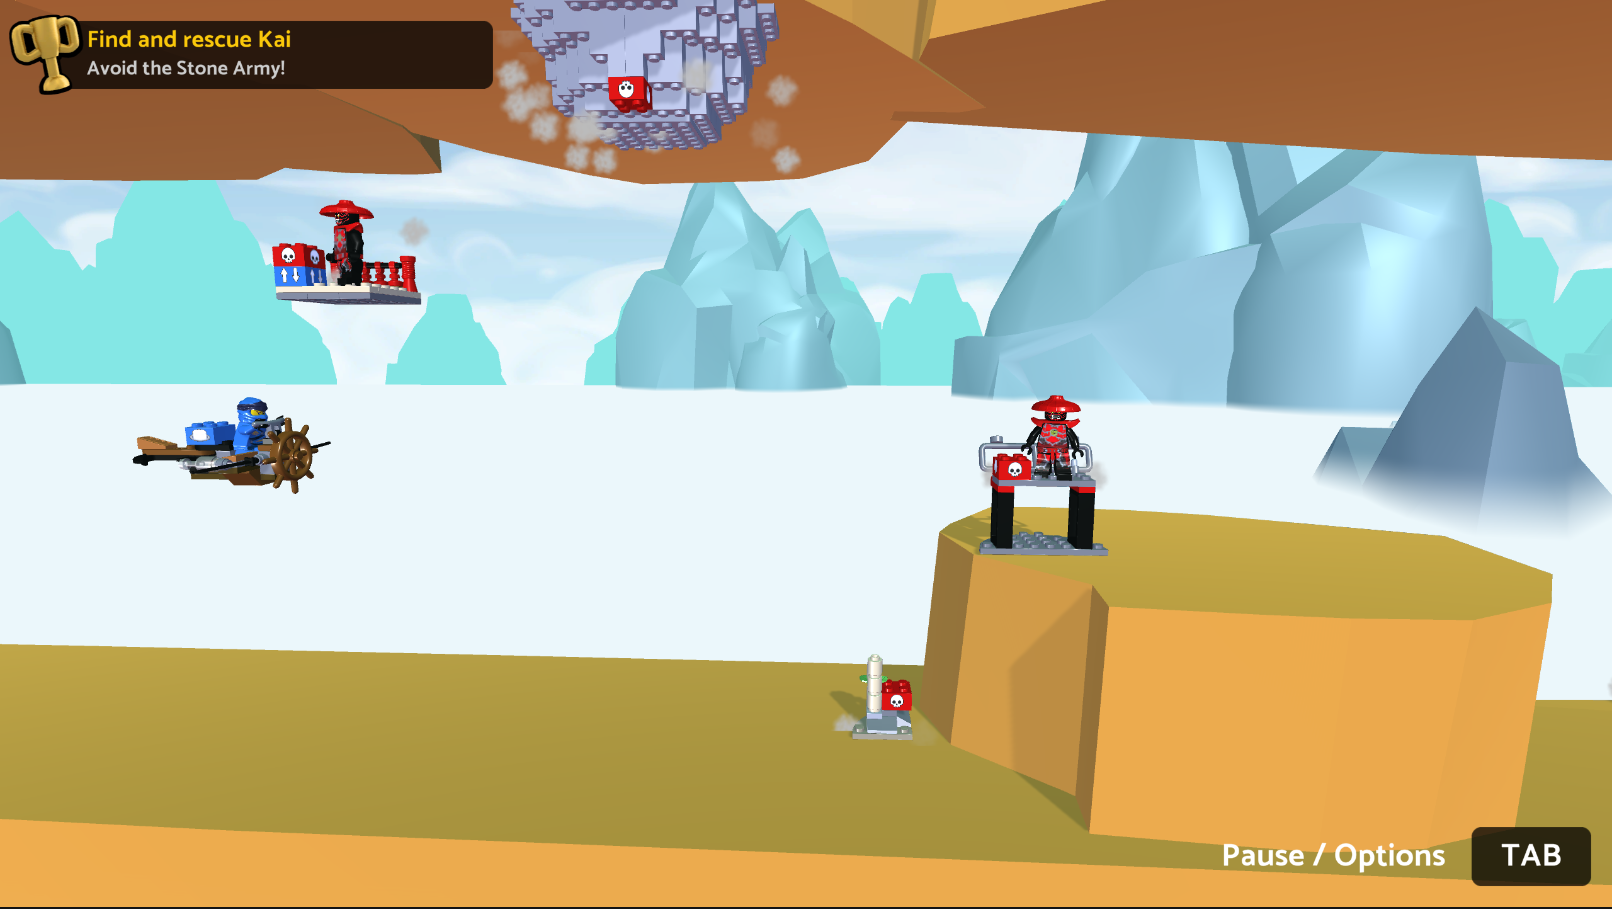
Assets > AddOns > MgLEGO Ninjago > Scenes > Ninjago Skybound Rescue
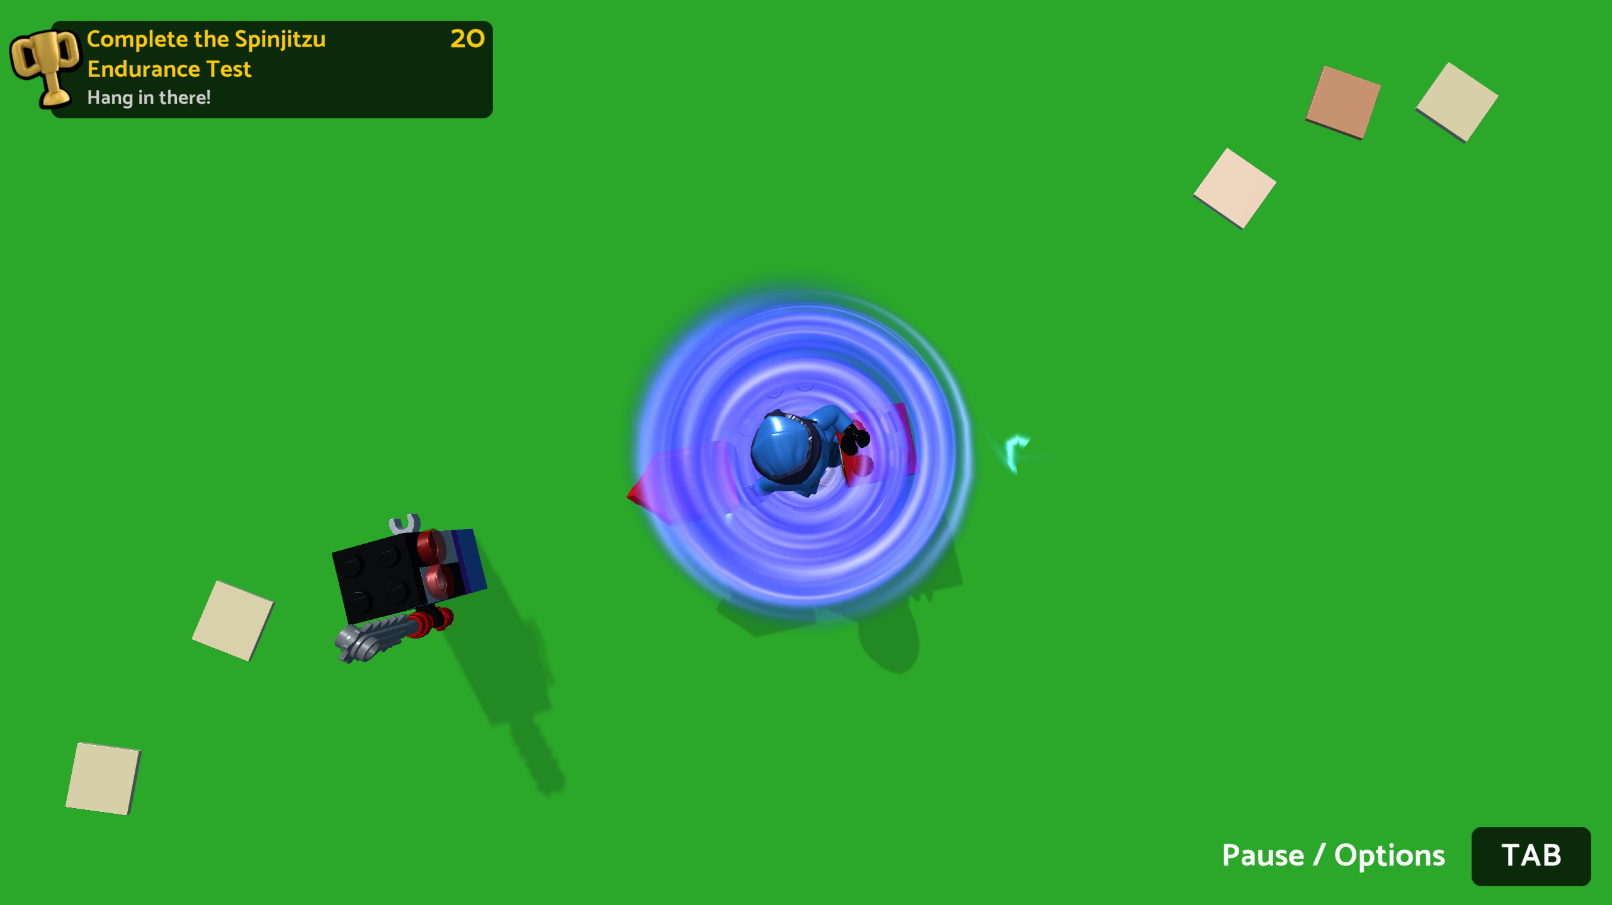
Assets > AddOns > MgLEGO Ninjago > Scenes > Ninjago Spinjitzu Endurance Test
Layout and goals
It’s a good idea to create the space for your level informed by the goals for the player.
In the tutorial Scene, the goal was for you to explore the functionality of the
LEGO® Microgame in small linear stages, and then visit the separate island to learn more
about customization options.
For an obstacle course,
you should think about:
Clear and concise design, restricting anything that doesn’t lead to the goal
Making the goal visible, at least at the start and ideally at all times
Pacing
Gradually increasing challenge is an important part of game and level design. When you’re first starting out, it’s helpful to choose a skill or technique to focus on and then build the challenge throughout the level.
For example, if you chose to focus on jumping,
You could create a challenge sequence of:
Jumping over a gap
Jumping over a timed/moving obstacle
Jumping over a combination of gap and obstacle
Utilising double-jump to pass simple then more complex obstacle configurations
Risk and reward / Agency
Where possible, you should give the player moments of agency;
though you’re testing their skill, you can offer different ways to do this.
For an obstacle course, there are two classic approaches:
Two paths, one of which is harder but has extra rewards (for example, collectibles or unlocks)
Two paths, with the harder path being shorter — if you’re doing a timed obstacle course,
taking this path will enable you to achieve a better time
You can also provide smaller moments of agency,
for example:
Gaps that can be passed using a single or double jump
Obstacles where the player can move to the left or right, without it changing their pathway
Enemy placement and design
Atmosphere
For example:
If you choose lofi music, with a pastel color scheme, this may reduce the sense of pressure for players.
A spooky theme with ominous music and lighting, on the other hand, would heighten the sense of pressure and tension.
Example: Mini obstacle course
Explore level design basics as you extend your LEGO® Microgame with a new level.
Planning
First prototype
Evaluation and iteration
View YouTube Video of what I created following the tutorial up to this point.
Create new control inputs
Explore how to use an Input Trigger Behaviour Brick to trigger a sequence of actions in your Microgame.
See Pirate Plunder for more details.
Animate Santa using scripts
Start by downloading the free Unity Store Asset Santa’s Brickshop - LEGO® Microgame Add-Ons
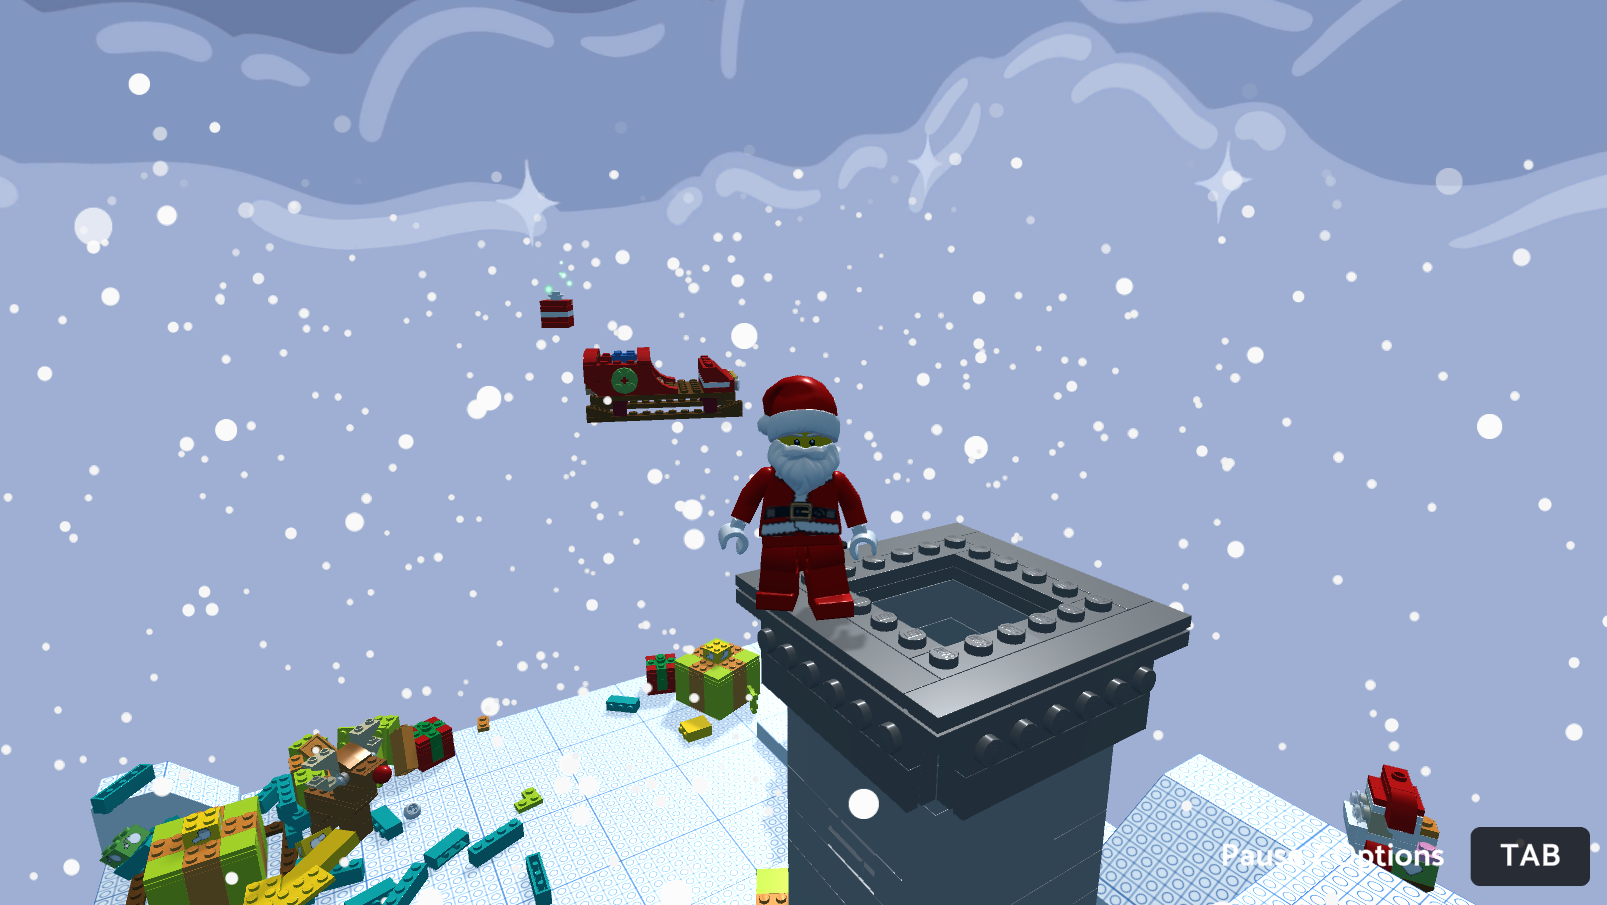
After Importing the package, In the top menu, go to Window > Animation > Animation. This shows the available animations.
After making a backup, modify the pickup action script.
// line 5
using Unity.LEGO.Minifig;

// line 154, inside the if-block

var minifigController = FindObjectOfType<MinifigController>();

if (minifigController) {
    //Disable player input to the Minifig so that its animation won't be interrupted
    minifigController.SetInputEnabled(false);

    //Play the Minifig animation
    minifigController.PlaySpecialAnimation(MinifigController.SpecialAnimation.Spin, null, EnableMinifigInput);

    //Re-enable player input to the Minifig
    void EnableMinifigInput(bool b) {
        minifigController.SetInputEnabled(true);
    }

}
One critique, this section does not actually cover how to create the animatin, just how to invoke them through scripts. Still useful! Just not what I expected.
You completed this project! - LEGO® Microgame
Final Notes
Review Creating with LEGO® Tools to help develop your confidence using the Microgame’s brick building system in Unity Editor.
Download the Behaviour Brick Manual to explore the range of bricks available in the LEGO® Microgame and ideas for how to use them!
Recommended LEGO Microgame Add-ons
Danger Zone
Happy Halloween
Knights’ Kingdom
LEGO NINJAGO
Moody Skies
Moody Tunes
Stickers
Behavior Bricks
For simple things, these are a good shortcut. Add behaviour scripts without bricks to keep the model the same design but gain functionality.
If you’re struggling for ideas
Explore the FPS Mod: Add a new level to your game flow, and create a branching game flow
Consider:
A Security Camera which rotates on one spot and can detect when you’ve entered it’s view (one enemy to detect the player, which triggers a weapon with Look At and Shoot actions)
Obstacles which change their behaviour every time the player jumps (using the Input Trigger)
Add an area that the player can unlock
Why not try:
Adding items to the cage to access when opened
Add a puzzel to gaining access to the console to unlock the cage.
Create different enemies for different parts of your level
Create a custom enemy model, that you can give different behaviours without using Behaviour Bricks